How to Clean an Oven (2026 Guide): Natural & Commercial Methods That Actually Work
A grimy oven doesn't have to stay that way. This guide walks you through natural and commercial cleaning methods step by step, so you can get a spotless oven without the hassle.
In this article
- Why a Dirty Oven Matters More Than You Think
- What You’ll Need
- Method 1: The Baking Soda Method (Natural)
- Method 2: Commercial Oven Cleaner
- Method 3: The Self-Clean Cycle
- How to Clean the Oven Door Glass
- How to Clean Oven Racks
- Natural vs. Commercial: Pros and Cons
- How to Keep Your Oven Cleaner for Longer
- Frequently Asked Questions
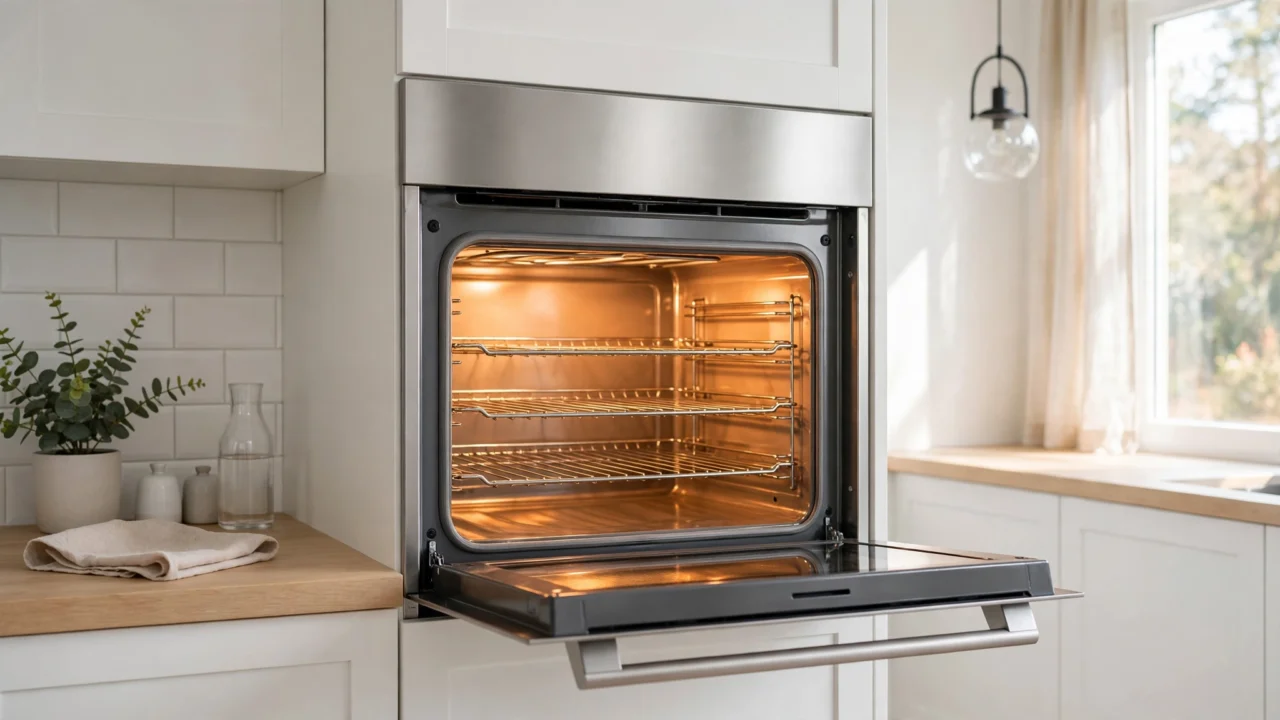
There’s a particular kind of guilt that comes from opening your oven door and being greeted by a blackened landscape of drips, carbonized cheese, and the unmistakable smell of every roast you’ve cooked since spring. We’ve all been there. You tell yourself you’ll deal with it this weekend, and then somehow a year goes by, and now the window looks like a smoked-glass aquarium.
Here’s the good news: learning how to clean an oven is much easier than most people expect, and it doesn’t require a hazmat suit or a shelf full of specialty products. Whether you prefer the natural route — baking soda, vinegar, and a bit of elbow grease — or you’d rather let a commercial cleaner do the heavy lifting while you put your feet up, this guide walks you through every method step by step. By the end, your oven will look and smell almost new, and you’ll know exactly how to keep it that way.
Why a Dirty Oven Matters More Than You Think
It’s tempting to treat a grimy oven as purely a cosmetic problem — out of sight, out of mind, door closed. But all that baked-on residue does more than look unpleasant. Every time you heat the oven, old grease and food particles heat up again too, and that’s where the trouble starts.
First, there’s the smoke. If your kitchen fills with haze every time you roast vegetables at a high temperature, your oven is probably the culprit, not your cooking. That smoke carries the flavor of months-old burnt food, and it can settle onto whatever you’re baking. Ever wondered why your cakes sometimes taste faintly of last month’s lasagne? Now you know.
Then there’s efficiency. A thick layer of carbon on the oven walls acts like insulation in all the wrong places. Your oven has to work harder to reach and hold temperature, which can mean longer preheating and less even baking. And in the worst cases, heavy grease buildup near the heating element is a genuine fire risk — those flare-ups people joke about usually start with neglect, not bad luck.
The encouraging part? None of this requires a heroic weekend project to fix. A single focused cleaning session, done properly, resets everything. After that, it’s just light maintenance.
What You’ll Need
Before you start, gather your supplies. The natural method uses things most kitchens already have; the commercial route needs just one product plus serious ventilation. Here’s the full rundown:
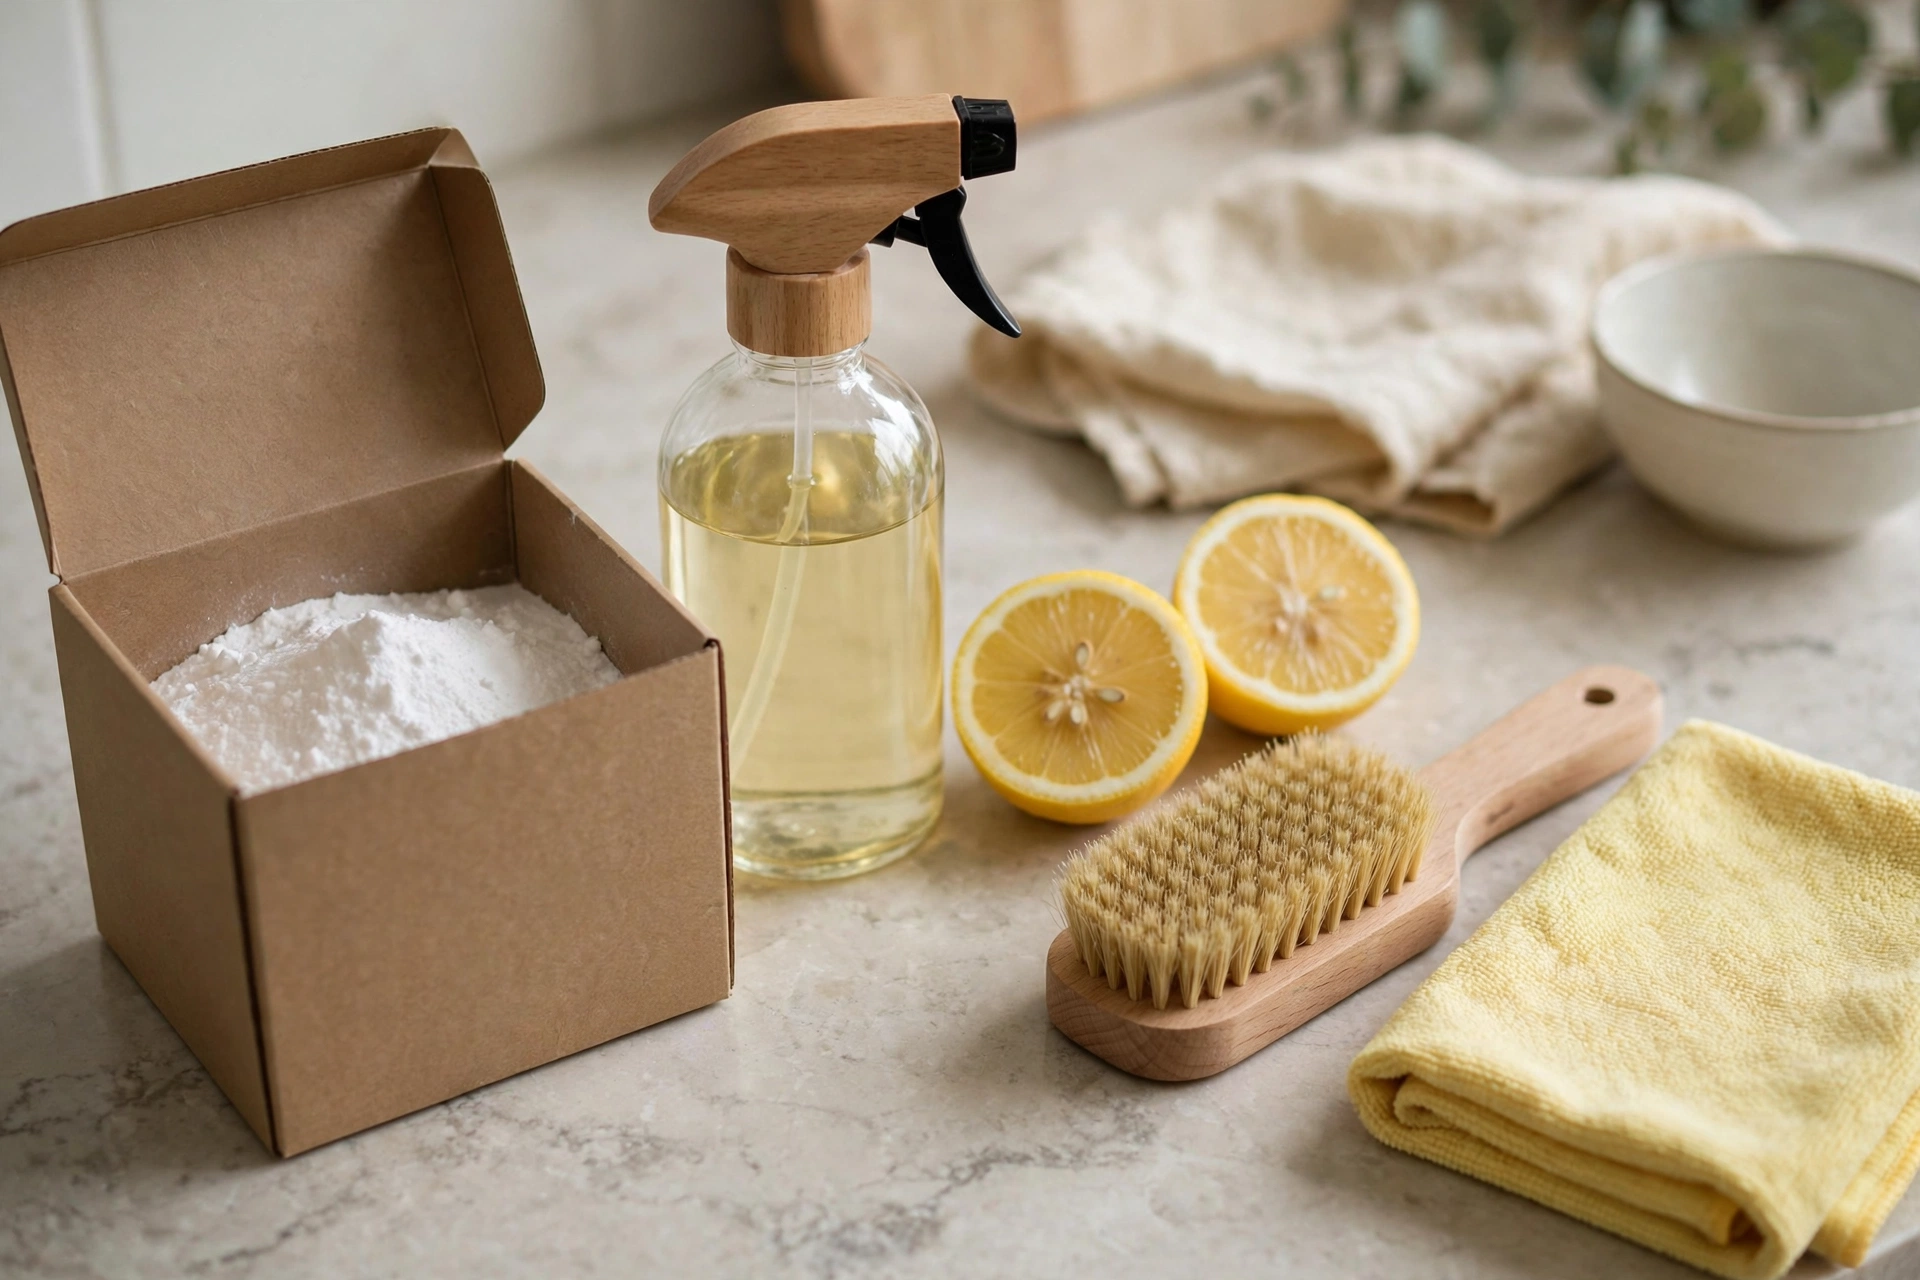
Baking soda: The workhorse of natural oven cleaning. It’s a mild alkali and a gentle abrasive, which means it loosens grease and carbon without scratching enamel.
White vinegar: Useful for the final wipe-down. The acidity cuts through the last of the baking soda residue and leaves glass streak-free.
Dish soap: A few drops in hot water make an excellent pre-soak for racks and a good general degreaser for light jobs.
Spray bottle: For applying vinegar or water exactly where you want it, rather than pouring and hoping.
Rubber gloves: Non-negotiable. Whether you’re handling baking soda paste for an hour or a commercial cleaner for twenty minutes, your hands will thank you.
Non-scratch scrub pads and an old toothbrush: The pads handle the big flat surfaces; the toothbrush gets into corners, around the door seal, and along the window frame where grime loves to hide.
Microfiber cloths: For wiping and buffing. Old towels work too, but microfiber leaves fewer streaks on the glass.
Commercial oven cleaner (optional): If you’re going the chemical route, one can is plenty for a standard oven. We’ll cover safety in the method section below.
What to avoid: Steel wool and harsh abrasive powders can scratch enamel and glass permanently. And never use a commercial oven cleaner on a self-cleaning oven’s interior coating unless the label specifically says it’s safe — we’ll come back to that.
Method 1: The Baking Soda Method (Natural)
This is the internet-famous method, and it earned its reputation honestly. It takes longer than a spray cleaner — most of that time is just waiting while the paste does its work — but it’s cheap, fume-free, and surprisingly effective even on ovens that look hopeless. If anyone in your household has asthma, fragrance sensitivities, or strong feelings about chemicals near food, start here.
Step 1: Empty the Oven and Remove Loose Debris
Take out the racks, the thermometer if you keep one in there, and any stray pizza stones or baking trays. Then, with the oven completely cool, sweep out the loose crumbs and flaky carbon with a dry cloth or an old spatula. You’re not trying to get it clean yet — just removing the easy stuff so the paste can reach the stuck-on grime.
Step 2: Make the Paste
Mix roughly half a cup of baking soda with a few tablespoons of water in a small bowl. You’re aiming for a spreadable paste, about the consistency of cake frosting — thick enough to cling to the oven walls, thin enough to spread easily. If it’s too runny, add more soda; too crumbly, add water drop by drop. There’s no exact science here, and that’s fine.
Step 3: Coat the Interior
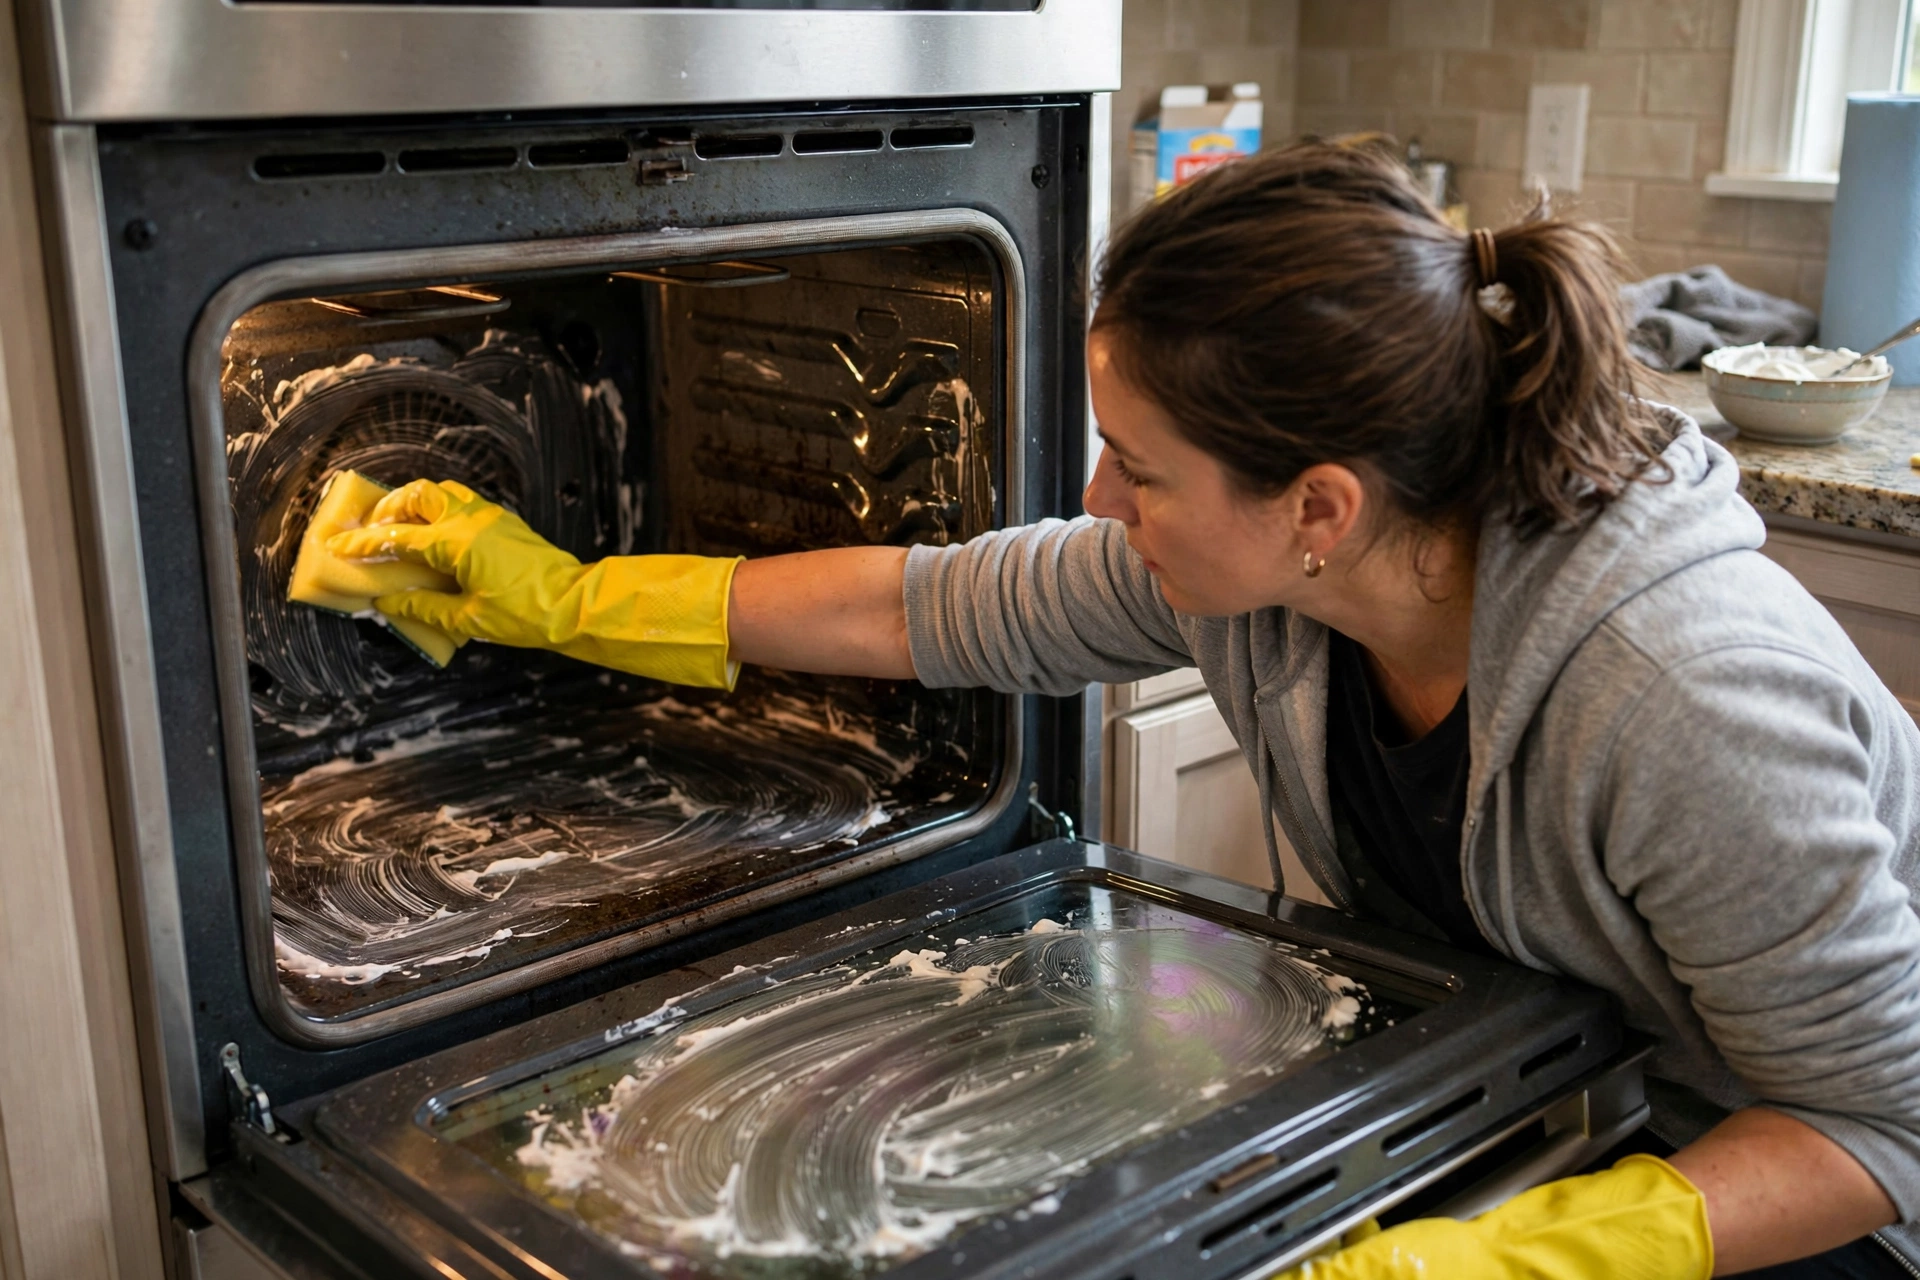
Put on your gloves and spread the paste over every interior surface: walls, floor, ceiling, and the inside of the door glass. Go thick on the worst spots. Avoid the heating elements themselves — a little paste on them won’t ruin anything, but it’s easier to skip them and wipe them gently later. Don’t forget the corners and the area around the door seal, where grease quietly accumulates for years.
Step 4: Let It Sit — Overnight Is Best
Close the door and walk away. Twelve hours is ideal, but even four to six will make a noticeable difference. The paste slowly softens carbonized grease through the night; when you open the door in the morning, you’ll see it has turned brown in the grimiest areas. That’s exactly what you want — it means it’s working.
Step 5: Wipe It Down
Take a damp cloth or sponge and start wiping. You’ll be amazed how much comes off with almost no scrubbing — the paste has done the hard part. For stubborn patches, use your non-scratch pad with a little pressure, working in small circles. The old toothbrush earns its keep around the seal and window frame. Rinse your cloth often; once it’s saturated with brown gunk, it’s just moving dirt around.
Step 6: The Vinegar Finish
Once the bulk is gone, spritz the interior lightly with white vinegar from your spray bottle and wipe once more. The vinegar reacts with any remaining baking soda residue, fizzing gently, and helps lift the last film. Buff the glass with a dry microfiber cloth, and you’re done. Stand back and admire your work — it deserves a moment.
Method 2: Commercial Oven Cleaner
Sometimes life is short and the oven is truly dreadful. Commercial oven cleaners exist for exactly this scenario: they’re strong alkaline sprays that dissolve baked-on grease far faster than any natural method. The trade-off is fumes, so this method comes with non-negotiable safety rules.
First, ventilation. Open windows, switch on the extractor fan, and keep the kitchen door closed so fumes don’t drift through the house. Pets and children should be out of the room. Second, gloves and ideally eye protection — this stuff is caustic, and the label warnings are there for a reason. Third, read the label completely before you start, including the recommended wait time and any surfaces it says to avoid. Heating elements, aluminum parts, and the rubber door seal are common no-go zones, but every product differs.
The process itself is simple. With the oven cool and the racks removed, spray the interior evenly, close the door, and wait for the time printed on the label — usually somewhere between twenty minutes and a couple of hours. Then wipe everything down thoroughly with damp cloths, rinsing the cloth often. This last part matters more than people think: leftover cleaner residue can smoke and smell the next time you cook, so wipe, rinse, and wipe again until the cloth comes away clean.
One important caution: if your oven has a self-cleaning function, its interior is coated with a special porous enamel. Many manufacturers warn against using chemical cleaners on that coating because they can damage it. Check your manual — or if the manual is long gone, check the manufacturer’s website — before spraying anything.
Method 3: The Self-Clean Cycle
Many modern ovens include a self-clean (sometimes called pyrolytic) cycle, and it’s the closest thing to a magic button oven cleaning gets. The oven locks its door and heats to an extremely high temperature, incinerating grease and food residue into a fine ash. When the cycle finishes and the oven cools, you simply wipe out the ash with a damp cloth.
It sounds effortless, and mostly it is, but a few precautions make it safer and more effective. Remove the racks first unless your manual says they’re safe to leave in — on many models, the extreme heat discolors them and can make them harder to slide. Wipe out any large pools of grease or big food chunks beforehand; the cycle handles residue, not entire forgotten pizzas. Make sure the kitchen is well ventilated, because the process produces smoke and odors, especially the first time on a very dirty oven.
Stay home while it runs, and keep the area around the oven clear. The oven exterior gets hot — that’s normal, but it’s worth knowing if you have curious toddlers or pets. When it’s done and fully cooled (don’t rush the lock), wipe out the ash, and give the glass a quick polish with vinegar and a microfiber cloth. If your oven offers a choice of cycle lengths, match it to the dirt level: a light cycle for maintenance, the longest for a rescue mission.
How to Clean the Oven Door Glass
The inside of the oven door window takes the worst beating of any surface — every splatter and steam cloud passes through it. The good news is that glass responds beautifully to the baking soda paste from Method 1. Spread it on thick, let it sit for at least thirty minutes (overnight if you can), then scrub gently with a non-scratch pad and buff with vinegar and microfiber.
For truly stubborn brown haze, some people swear by a glass scraper — the kind with a retractable razor blade sold for cleaning stovetops. Used flat against the glass with soapy water as lubricant, it can lift carbon that scrubbing won’t budge. The key word is gently: keep the blade flat, never dig at corners, and skip this entirely if your glass is already scratched or you’re not confident. A scratched oven window is worse than a slightly hazy one.
What about the grime trapped between the two panes of glass? Most oven doors aren’t designed for owners to disassemble, and taking the door apart can be fiddly and occasionally risky. Check your manual — some models have a slot or removable panel for exactly this. If yours doesn’t, it’s usually a job for a technician, and honestly, most people learn to live with a little fog between the panes.
How to Clean Oven Racks
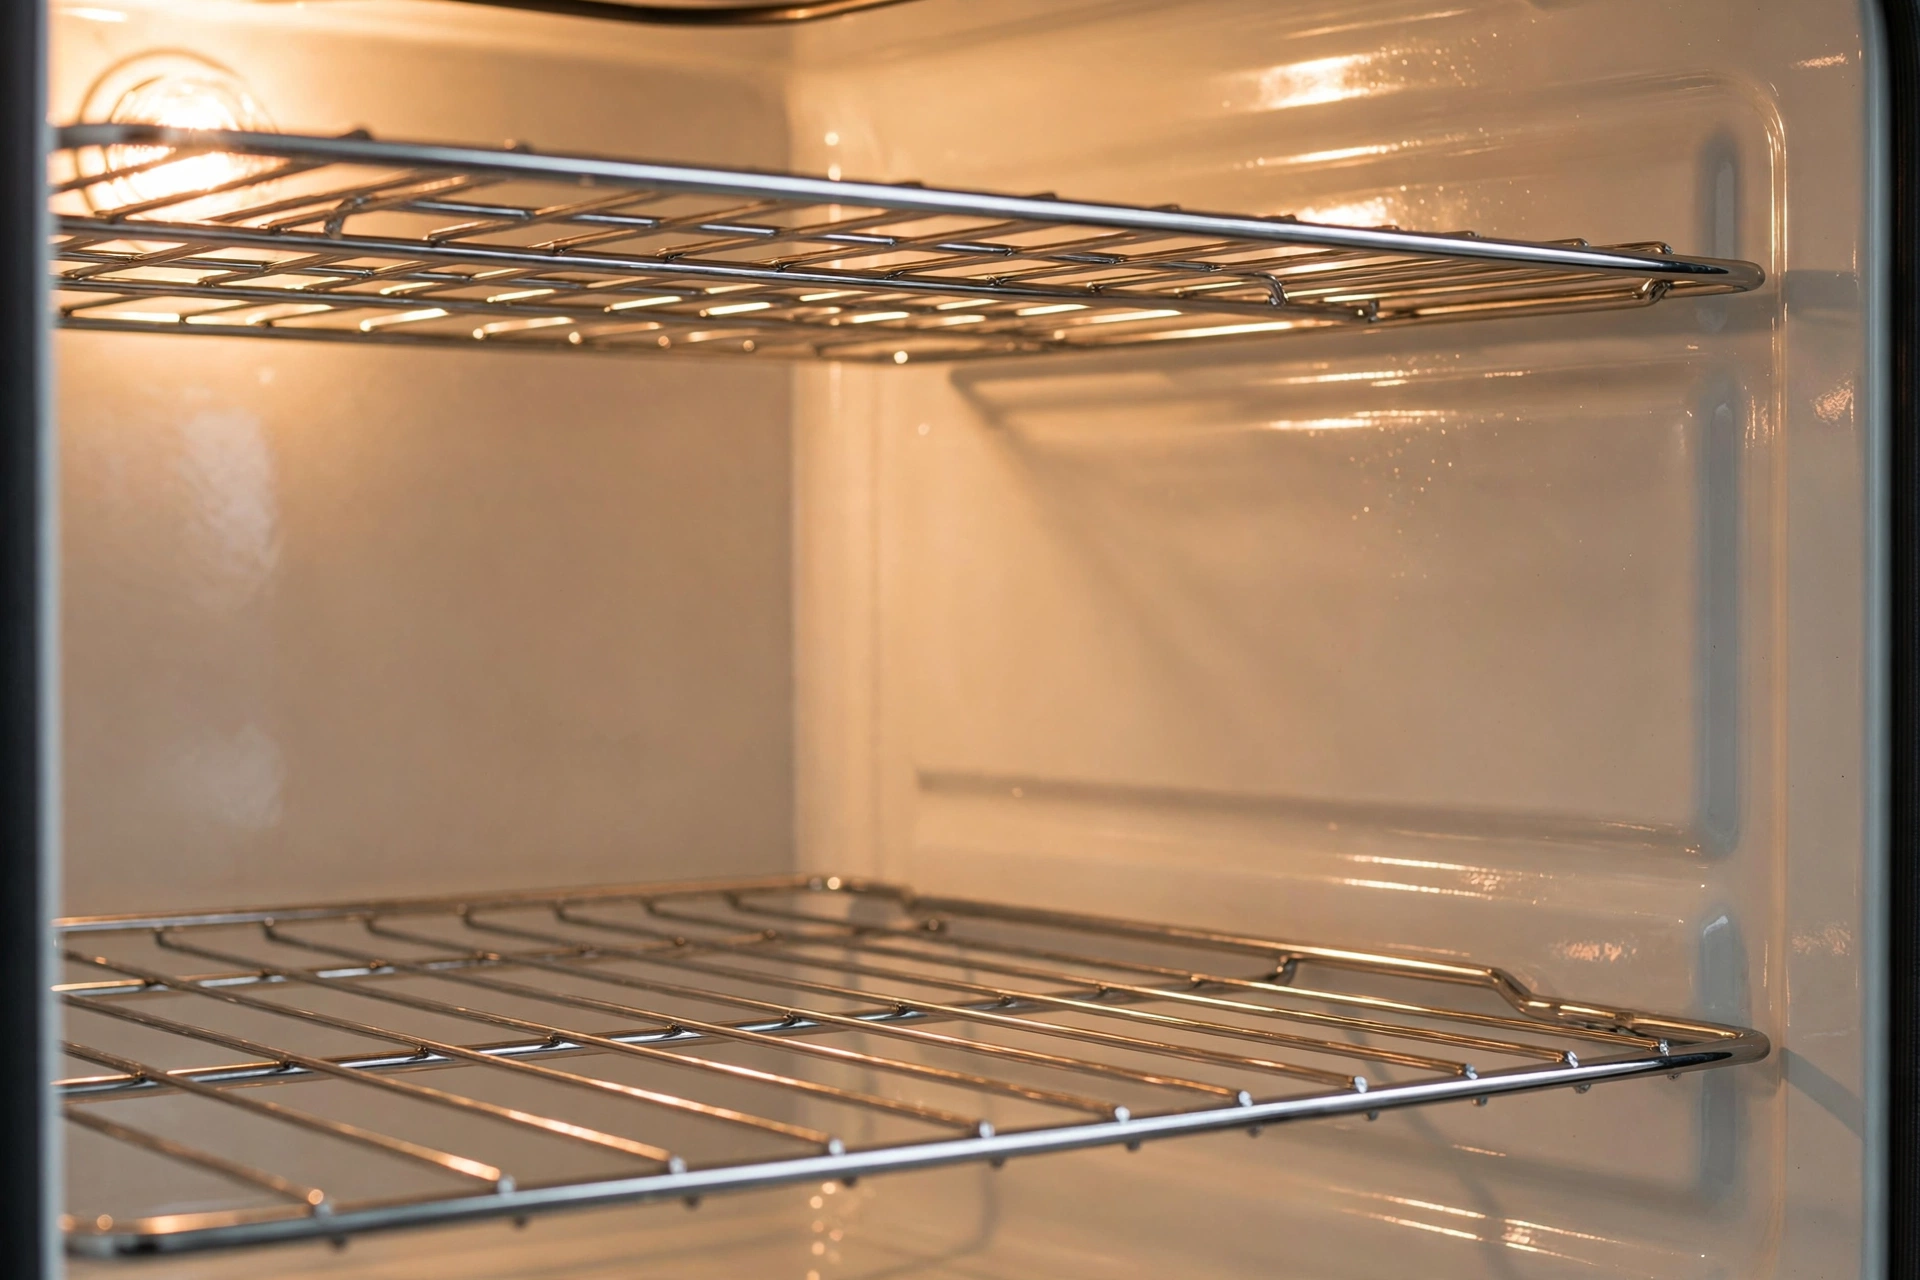
Racks are the part everyone dreads, because all that wire surface area collects grease in every crevice. But the bathtub method makes it almost effortless. Lay an old towel in the bottom of the tub (to protect the enamel), fill it with the hottest water your tap produces, add a generous squirt of dish soap and half a cup of baking soda, and submerge the racks. Let them soak for several hours or overnight.
After soaking, most of the grime will wipe off with a sponge. For the stubborn bits, a non-scratch pad or an old toothbrush around the wire joints finishes the job. Rinse them in the shower or with the shower head, dry thoroughly — racks left damp can develop rust spots — and slide them back in. If you don’t have a bathtub, a large plastic storage bin or even the kitchen sink (for smaller racks) works the same way.
A popular trick worth mentioning: some people add a couple of dryer sheets to the soak water, claiming the fabric softener loosens grime. It seems to help some and not others — the evidence is purely anecdotal. It won’t hurt anything, so if you have them handy, there’s no harm in trying.
Natural vs. Commercial: Pros and Cons
Both approaches get you to a clean oven; they just take different routes. Here’s an honest comparison to help you choose:
| Method | Pros | Cons |
|---|---|---|
| Baking soda (natural) | Cheap; no fumes; safe around kids and pets; ingredients you already own | Takes hours (mostly waiting); needs more physical scrubbing on heavy buildup |
| Commercial cleaner | Fast; minimal scrubbing; cuts through extreme grease | Harsh fumes; needs ventilation and protective gear; can’t use on some self-clean coatings |
| Self-clean cycle | Almost no effort; no chemicals at all | Produces smoke and odor; uses a lot of energy; takes hours; not available on all ovens |
There’s no wrong answer here — only trade-offs. Many people use the natural method for regular maintenance and save the commercial cleaner or self-clean cycle for the once-a-year deep clean. That’s a perfectly sensible system.
How to Keep Your Oven Cleaner for Longer
The secret to never facing a disaster oven again is embarrassingly simple: clean little and often. A two-minute wipe of the oven floor with a damp cloth while it’s still slightly warm (not hot — be sensible) after a messy roast prevents 90% of future buildup. Warm grease wipes away in seconds; the same grease, baked on over six more cooking sessions, becomes a weekend project.
A few more habits that help: place a baking sheet or oven liner on the rack below anything likely to bubble over — pies, lasagnes, anything with cheese near the edges. One caution: some oven manuals warn against covering the oven floor or blocking vents, so check yours before using a liner. Clean up sugary spills promptly, because caramelized sugar becomes nearly permanent if it’s reheated repeatedly. And give the door glass a quick wipe every few weeks; it takes thirty seconds when the grime is fresh.
Once the oven is sparkling, reward yourself properly — put the kettle on, sit down, and browse astronomy101.co.uk for a while. After an afternoon staring into the dark depths of a dirty oven, looking up at the night sky feels like the perfect contrast.
Frequently Asked Questions
How often should I clean my oven?
For the average household, a thorough clean every three to six months is plenty, with quick wipe-downs after messy cooking sessions in between. If you roast frequently or notice smoke and odors during normal cooking, that’s your oven asking for attention sooner.
Can I use vinegar and baking soda together?
You can, but understand what happens: vinegar (an acid) and baking soda (a base) neutralize each other on contact, producing fizz and salty water. The fizz looks dramatic but the cleaning power of each is reduced. That’s why this guide uses them sequentially — baking soda paste first for the heavy lifting, vinegar afterward for the finishing wipe — rather than mixing them into one paste.
Is it safe to use the self-cleaning cycle?
When used as directed, yes — it’s a standard feature designed for exactly this purpose. The main precautions are ventilating the kitchen, removing anything that shouldn’t be in there, staying home while it runs, and letting the oven cool fully before wiping out the ash. If your oven is extremely dirty, wipe out the worst of the grease first to reduce smoke.
How do I clean between the glass panels of the oven door?
This is the trickiest spot. Some oven models have a removable panel or access slot designed for cleaning between the panes — check your manual first. If yours doesn’t offer easy access, disassembling the door is fiddly and best left to a technician. Many people simply live with a little fog between the panes; it doesn’t affect cooking at all.
Can oven cleaner damage my oven?
It can damage certain surfaces, which is why reading the label matters. Keep it away from heating elements, aluminum trim, and the rubber door seal unless the product says otherwise. Most importantly, don’t use chemical oven cleaners on the porous enamel coating of self-cleaning ovens unless the manufacturer explicitly allows it — the chemicals can ruin the coating.
What’s the easiest way to clean an oven that’s been neglected for years?
Combine methods: start with the baking soda paste overnight to soften the worst of it, then follow up with a commercial cleaner on whatever remains. For the truly heroic cases, run the self-clean cycle first (after removing loose debris), then do a baking soda pass for the leftovers. Work in stages rather than expecting one method to do everything — even a disaster oven surrenders eventually.
Read Also: Clima de 10 Días: Qué Tan Confiable Es el Pronóstico y Cómo Interpretarlo (2026)
#how-to-clean-an-oven

Related Articles

How to Wash a Wool Blanket (2026 Guide): Hand Wash and Machine Steps
Wool blankets need gentle care to stay soft and shrink-free. This guide covers hand washing, machine…

What Sleep Science Says About the Perfect Nap
Twenty minutes can sharpen your whole afternoon. Ninety minutes can wreck your night. Sleep researchers explain…

Elliott Gould (Complete Guide): Life, Career, Films and TV Roles Explained
Elliott Gould went from 1970s leading man to beloved TV dad. This guide covers his life,…
1 Comment